Carmelita Bars: Why This Chewy Caramel Treat Earns Rave Reviews
Few desserts have the power to stop conversations and elicit declarations of culinary love quite like Carmelita bars. These aren't just any cookie bars; they're a symphony of textures and flavors, a legendary treat that consistently earns rave reviews from everyone who takes a bite. Imagine a buttery, chewy oat crust, a generous layer of soft, gooey caramel, and a decadent blanket of melty chocolate chips, all baked into one irresistible square. It’s a combination so perfect, many claim it's a life-changing experience. If you've never had the pleasure, prepare to embark on a delicious journey that explains precisely why these amazing caramel treats have garnered such an enthusiastic following.
What Makes Carmelita Bars Irresistible? The Anatomy of a Perfect Bite
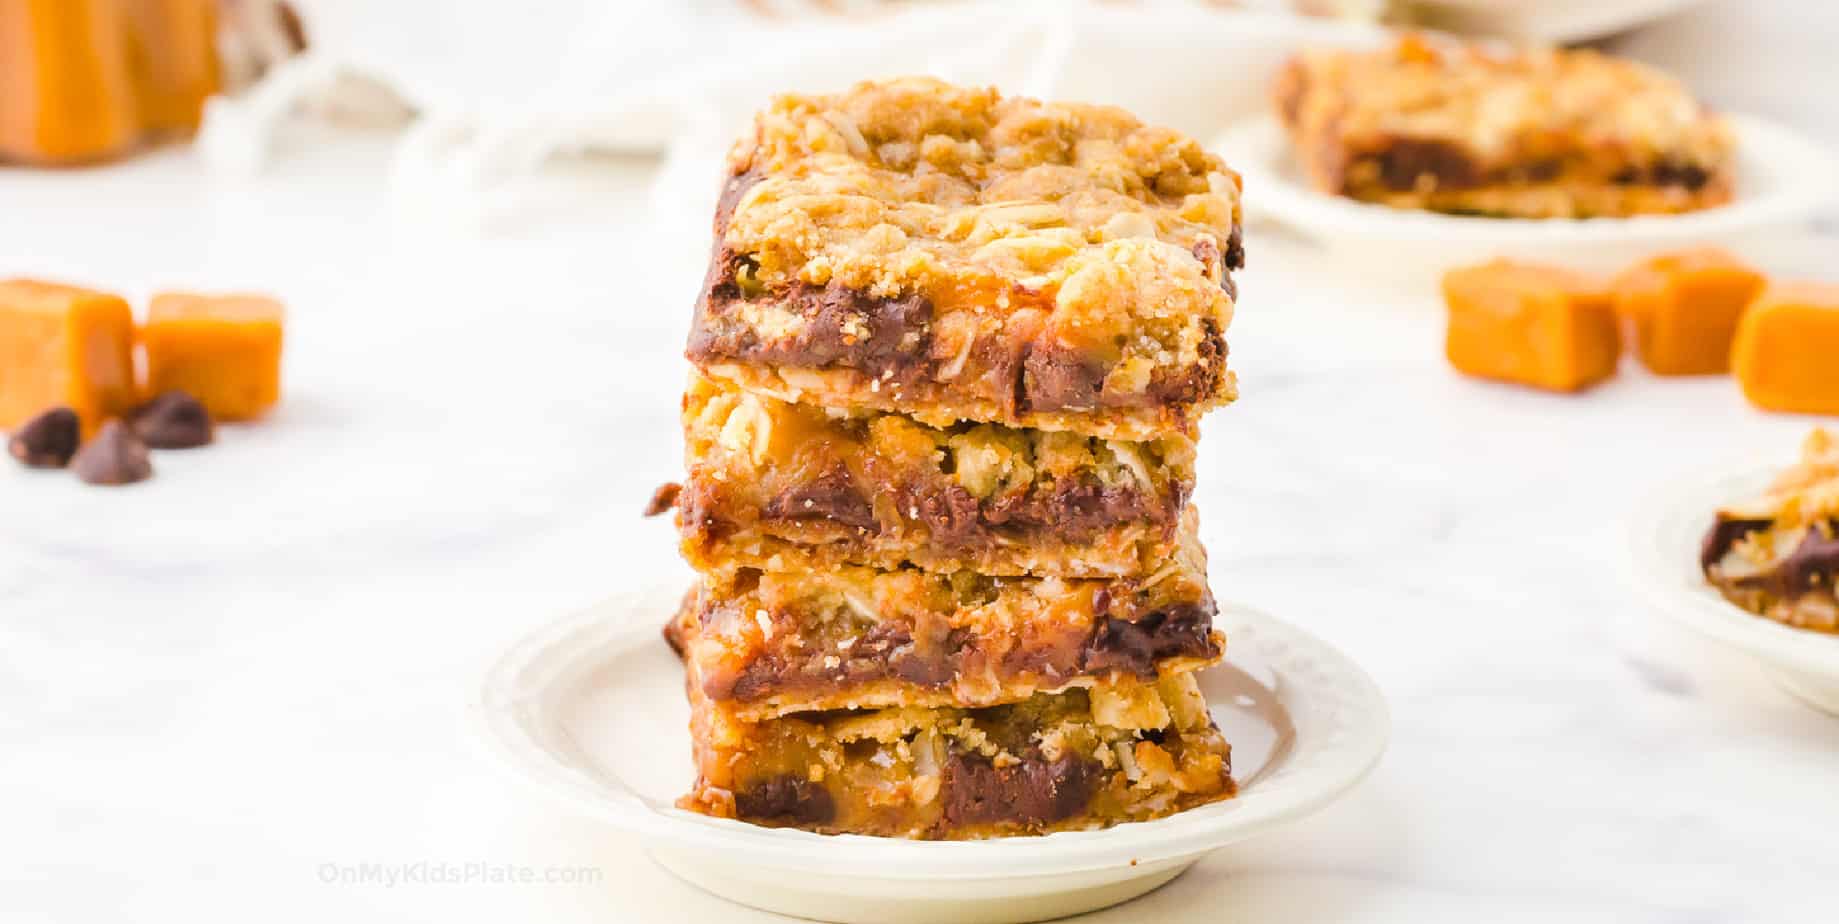
The magic of Carmelita bars lies in their carefully constructed layers, each contributing to an unparalleled sensory experience. It's not just a collection of ingredients; it's the harmonious interplay between them that creates something truly special.
- The Chewy, Buttery Oat Crust: This isn't merely a base; it's an integral part of the flavor and texture profile. Made with old-fashioned rolled oats, brown sugar, and rich butter, this crust bakes up to be wonderfully chewy, with a slight crumble and a comforting, wholesome oat flavor. It provides the essential structural integrity while also delivering a satisfying, slightly rustic contrast to the sweetness of the other layers. The brown sugar ensures a moist, tender crumb that perfectly complements the caramel.
- The Soft, Gooey Caramel Core: Ah, the heart of the Carmelita. This isn't just a caramel drizzle; it's a thick, luscious layer that stretches delightfully with every bite. The key here is using soft, meltable candy caramels combined with a touch of cream, resulting in a caramel that remains exquisitely soft and chewy even after baking and cooling. It provides that signature sticky-sweet indulgence that defines the entire bar.
- The Generous Semisweet Chocolate Layer: Nestled between the crust and the caramel, a layer of semisweet chocolate chips melts into a rich, luscious blanket. This chocolate isn't just for show; it's a crucial component that balances the sweetness of the caramel and the crust. The slight bitterness of semisweet chocolate cuts through the richness, creating a more complex and ultimately more satisfying flavor profile. While other chocolates can be used, semisweet is often considered the gold standard for achieving this perfect balance.
Together, these elements create a textural wonderland: the chewiness of the oats, the stretchiness of the caramel, and the smooth melt of the chocolate. It’s a treat that tantalizes every part of your palate, making it undeniably irresistible.
Crafting Your Own Carmelita Bars: A Step-by-Step Guide
One of the many appealing aspects of Carmelita bars is their relative ease of preparation, often requiring no special equipment like a stand mixer. The process is straightforward, breaking down into a few simple stages:
- Prepare the Crust Base: You'll start by combining dry ingredients like flour, old-fashioned rolled oats, brown sugar, baking soda, and a pinch of salt with melted butter. This mixture forms a crumbly, sandy dough. Crucially, press about half of this mixture firmly into a parchment-lined square baking pan. Lining the pan is a non-negotiable step that will save you immense frustration when it comes to removing and slicing the bars. This initial crust layer bakes for a short period, just enough to set it.
- Whip Up the Caramel Sauce: While your crust is par-baking, turn your attention to the luscious caramel. This involves gently melting soft candy caramels (like Kraft or Werther's Chewy Caramels) with a splash of heavy cream in a small saucepan. Stir continuously until you have a smooth, pourable caramel sauce. Remember, the choice of caramel here is paramount for that perfect gooey texture – steer clear of hard candy caramels!
- Assemble and Bake: Once the bottom crust emerges from the oven, immediately sprinkle an even layer of semisweet chocolate chips over the warm crust. The residual heat will start to gently melt them. Next, carefully drizzle your prepared caramel sauce over the chocolate. Finally, crumble the remaining oat mixture evenly over the caramel layer. Don't fret if there are some gaps; that's perfectly normal and part of the rustic charm. The bars then return to the oven for their final bake, typically until the top crust is golden brown and the caramel is visibly bubbling.
The hardest part after baking is patiently waiting for the Carmelita bars to cool completely before slicing. This allows the caramel and chocolate to set properly, ensuring clean, perfect squares. For a comprehensive recipe and detailed instructions, check out our guide on Fool-Proof Carmelita Bars: Chewy Caramel & Chocolate Recipe.
Ingredient Spotlight: Unlocking the Best Carmelita Bars
While the steps are simple, the quality and type of your ingredients can significantly impact the final outcome of your Carmelita bars. Choosing wisely ensures that legendary texture and flavor:
- Flour: All-purpose flour is the standard choice, providing structure and tenderness. For a slightly nuttier flavor and added fiber, you can experiment with replacing a portion (up to half) with whole wheat flour.
- Oats: This is a critical distinction! Always use old-fashioned rolled oats. These oats retain their shape and provide the desired chewy texture in the crust. Avoid instant or quick-cooking oats, as they will break down too much during baking, resulting in a mushy, undesirable consistency.
- Brown Sugar: Both light and dark brown sugar work wonderfully. Dark brown sugar will lend a deeper, richer molasses flavor and a slightly more moist crumb, while light brown sugar offers a subtly milder sweetness.
- Soft Candy Caramels: As emphasized, the success of your caramel layer hinges on using soft, chewy candy caramels. Brands like Kraft Caramels or Werther's Original Chewy Caramels are ideal. These melt smoothly and remain soft and pliable after baking, making slicing and eating a delight. Absolutely avoid hard candy caramels; they will re-solidify into an unpleasantly rigid state, making your bars impossible to enjoy. For more details on this crucial choice, refer to our Carmelita Bars Guide: Choosing Best Oats & Caramel for Perfection.
- Chocolate Chips: Semisweet chocolate chips are the classic choice, offering a balanced sweetness that complements the rich caramel without overwhelming it. Dark chocolate chips are an excellent option if you prefer a less sweet bar with a deeper cocoa flavor. Milk chocolate is generally not recommended unless you specifically desire an extremely sweet bar, as it can push the Carmelita bars into overly saccharine territory.
- Butter: Unsalted butter allows you to control the overall saltiness of the bars. However, if salted butter is what you typically keep on hand, it can certainly be used; just be mindful of any additional salt in the recipe.
- Heavy Cream: This essential ingredient contributes to the luxurious smoothness and melt-in-your-mouth quality of the caramel sauce.
- Baking Soda, Salt, Vanilla Extract: These pantry staples play their important roles – baking soda for leavening and texture, salt for balancing and enhancing flavors, and vanilla extract for adding a warm, aromatic depth.
Tips for Carmelita Bar Perfection: Beyond the Basics
Achieving truly exceptional Carmelita bars goes beyond just following the recipe. Here are some insights to elevate your baking:
- Don't Overbake: While it’s tempting to leave them in for extra crispness, overbaking can lead to a dry crust and overly hard caramel. Watch for a golden-brown crust and bubbling caramel, then remove them promptly. The bars will continue to set as they cool.
- Patience is a Virtue (Especially When Cooling): This cannot be stressed enough. Allow your Carmelita bars to cool completely to room temperature – ideally for several hours, or even overnight – before attempting to slice them. This gives the caramel ample time to set, resulting in clean, non-sticky cuts. Trying to slice them warm will result in a messy, gooey disaster.
- Strategic Slicing: Due to their richness, Carmelita bars are perfect when sliced into small, manageable squares. A 9x13-inch pan can yield 24-36 generous squares, making them ideal for sharing. Smaller pieces allow everyone to savor the indulgence without feeling overwhelmed.
- Storage Solutions: Store cooled Carmelita bars in an airtight container at room temperature for up to 3-4 days. For longer storage, they can be refrigerated for up to a week. They also freeze exceptionally well; wrap individual bars or the entire slab tightly in plastic wrap and then foil, and they'll keep for up to 2-3 months. Thaw at room temperature.
- Troubleshooting Common Issues:
- Caramel too hard? You likely used hard candy caramels, or the caramel was cooked for too long.
- Bars too crumbly? Ensure you're using melted butter as specified, and avoid over-baking the crust.
- Too sweet? Opt for dark chocolate chips instead of semisweet or milk chocolate for a more balanced flavor profile.
The Versatility of Carmelita Bars: Customization and Serving Suggestions
While the classic Carmelita bar recipe is undeniably perfect, there's always room for creative twists to suit your palate or occasion:
- Flavor Enhancements:
- Salted Caramel Delight: A sprinkle of flaky sea salt over the warm caramel layer after baking takes these bars to another level, creating a sophisticated salted caramel profile.
- Nutty Nuances: Fold chopped pecans, walnuts, or almonds into the oat crust mixture for added crunch and flavor.
- Chocolate Variations: Experiment with different chocolate chips beyond semisweet – white chocolate for extra sweetness, or butterscotch chips for a unique twist.
- Espresso Kick: A teaspoon of instant espresso powder added to the crust can deepen the chocolate flavor beautifully.
- Serving Suggestions:
- Classic Companion: Serve them simply with a tall glass of cold milk, as the reference context suggests, to truly appreciate their richness.
- Dessert Upgrade: Warm a square slightly and serve it with a scoop of vanilla bean ice cream and an extra drizzle of caramel sauce for an elevated dessert experience.
- Party Perfect: Carmelita bars are robust and travel well, making them ideal for potlucks, family gatherings, bake sales, or holiday dessert trays. Their crowd-pleasing nature guarantees you'll be popular!
- Gift-Worthy Goodness: Package a few bars in a decorative box or tin for a homemade gift that everyone will adore.
Their inherent richness means a small square goes a long way, but their deliciousness means you'll always want just one more. The adaptability and sheer enjoyment factor of Carmelita bars truly solidify their status as a beloved treat.
From their foundation of a chewy oat crust to their core of gooey caramel and blanket of melted chocolate, Carmelita bars are a testament to simple ingredients coming together to create something extraordinary. They’re easy enough for novice bakers and satisfying enough for the most discerning dessert lovers. If you've been searching for that one dessert that consistently delivers on flavor, texture, and pure indulgence, your quest ends here. Embrace the joy of baking and sharing these incredible Carmelita bars – prepare for a chorus of rave reviews!
